BBC Micro Music Masterclass
As we saw when we tried to create a three-note organ on the BBC, polyphony presents special' problems for the programmer and the musician. The techniques we use for single note situations do not always transpose happily or smoothly into the multi-note case. Modifications are therefore essential. In this chapter we shall look at the problems which need to be summoned when creating polyphonic pieces of music.
If you think back to Chapter Four, you will remember that we dealt with a special case of polyphonic playback. In the piece Happy Birthday the entire tune was played in three-part harmony; this was only possible because, rhythmically, each harmony part was identical. As soon as the harmony parts become rhythmically independent we are immediately faced with a problem. This is best illustrated by looking at the simplest possible example, a two-part melody.
If The BBC was endowed with infinitely long SOUND queues, synchronisation would be straightforward. We would simply transfer our SOUND information into the channel one and channel two buffers and, providing we had INPUT the durations for each part correctly, the two channels would play back in perfect sync. However, since these queues are limited to five requests, if one channel is made up of short duration statements and the other of long duration statements, a breakdown in sync will eventually occur.
The program Synchronisation Demo illustrates this effect quite clearly. The program uses a pair of two-dimensional arrays to store the Pitch and Duration DATA for channels one and two. This information then feeds the SOUND statements in Line 120. Channel one is made up of long duration notes and channel two of short duration notes. RUN the program and see what happens...
 10
 20 REM"SYNCHRONISATION DEMO
 30
 40 DIM Pitch%(2,20),Duration%(2,20)

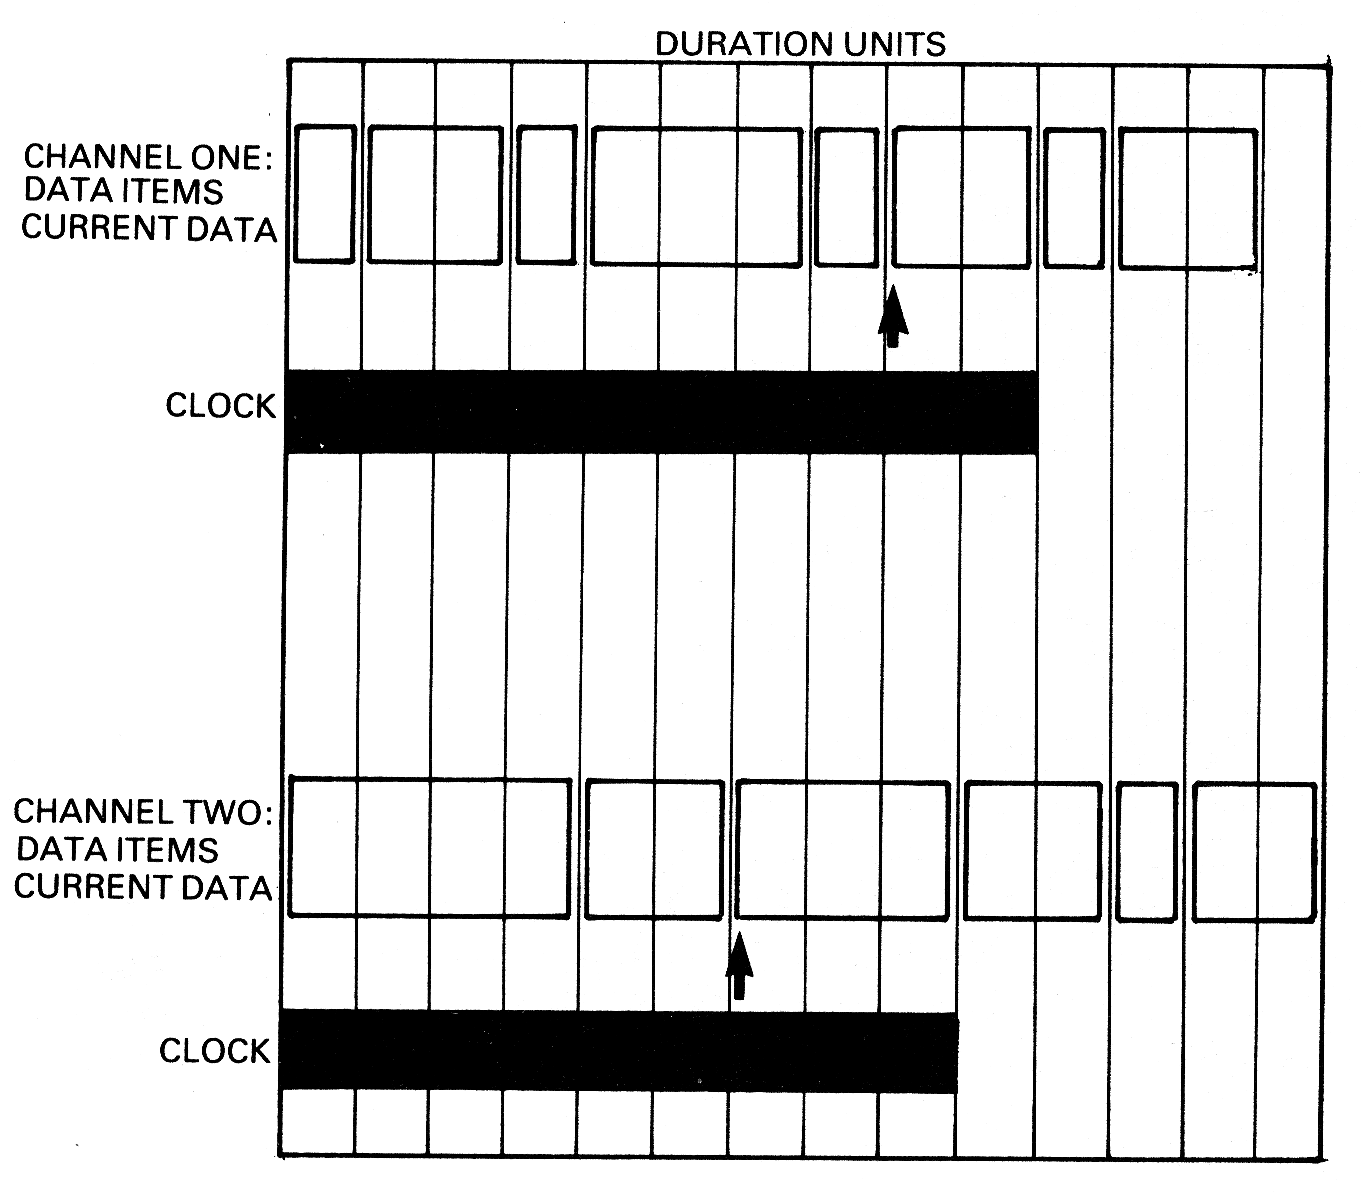
This program starts, as expected, with a long note on channel one synchronised with short notes on channel two. Four notes on channel two should be played for every note played on one. When the second long note is played, however, channel two ties up and plays notes at the same time as each new notes on one. The display will show each channel starting a note and putting five notes in each queue. Since channel two is playing notes more frequently than one, by the end of the first note on one, four SOUNDs have been played on two.
At this point one more SOUND is added to each queue, but note that channel two is continuing to use up notes quicker than one. The SOUND statement in Line 120 controls how quickly new SOUND statements are put on both queues. Since this is filling the buffers at the rate of the slowest duration, by the end of the second note on channel one the channel two buffer is exhausted. From this point on, a new SOUND is only added to the channel two queue at the same rate as to the queue on channel one. As a result, channel ones queue will always be full, and twos will always be empty. This is why we get the effect of both parts SOUNDing together, even though their durations are quite different.
One solution to this problem is to arrange for the channel two buffer to be topped up more frequently than the channel one buffer. We could accomplish this in a number of ways.
Our first option is instead of having two separate DATA sources, to combine them into one. By recording the channel number as well as its duration and pitch, only one SOUND statement would be required. If you look back at the Synchronisation Demo example we met with earlier on, you will note that we could then arrange for each channel one DATA item to be followed by four items of channel two DATA. If we did this, the channel two buffer would never become exhausted, so synchronisation would necessarily have to occur. This technique makes program writing simple, but arranging the music DATA for a complicated piece tends to present horrendous difficulties. As a result the musical problems involved make this method impractical.
The second option is to retain our separate DATA statements and com-bine the musical information inside the program. One way of doing this would be to keep a record of the total duration played on each channel. In the case of the Synchronisation Demo, if the total duration on channel one exceeds that of channel two, channel two needs to be topped up. This technique can be thought of as something akin to keeping a clock for each channel.
As each channel is SOUNDed the duration for that statement is added to the clock for that channel. At any given time the channel with the clock reading the smallest value (channel two in the diagram) will be SOUNDed. This would give a statement which looks like the following formula:
IF clockl > clock2 SOUND 2 ELSE SOUND 1
or equally well...
IF clock2 > clockl SOUND 1 ELSE SOUND 2
We could incorporate this type of statement into our synchronisation demonstration as follows:

This second demonstration RUNs in perfect sync throughout. A REPEAT... UNTIL loop is used in this case because the two channels must be allowed to run independently of each other. Two step counting variables, respectively A% and a%, are used to keep track of where we are at any given point in each of the two channel arrays. These are set to one at Line 13 and are increased by one every time a SOUND is inserted in a channel queue.
In this case, when the program first reaches Line 190 clock1 equals clock2. Channel two will therefore be SOUNDed. We then have clocks equalling 5 and a% equal to 2. The program will then go round the loop and the next visit to Line 190 will see clock2 > clock1 as a result of which channel one will be SOUNDed. Since this loop is executed in a fraction of a second both channels one and two will appear to be SOUNDing simultaneously. At this point clock1=20 and A%=2. On the third visit to line 190 clock2=5 and clock1=20, so clock2 < clockl and therefore channel two will add another SOUND to its queue. Now clock2=10 and a%=3. On a fourth visit clock2=15 and a%=4. As you can see channel two is filling its queue far more rapidly than channel one. Since it is also emptying its queue faster, the end result balances out at precisely what we want.
This approach will work for any set of two-part musical DATA, not merely for the example I have chosen. As you can see, therefore, we do have a general method for writing two-part tunes which allows the musical DATA for both parts to be listed separately. Over the rest of the chapter we will develop this method further, in order to make it easy for us to cope with more complex musical examples. The first of these is a melody with bass accompaniment, which includes rests and repetitions.
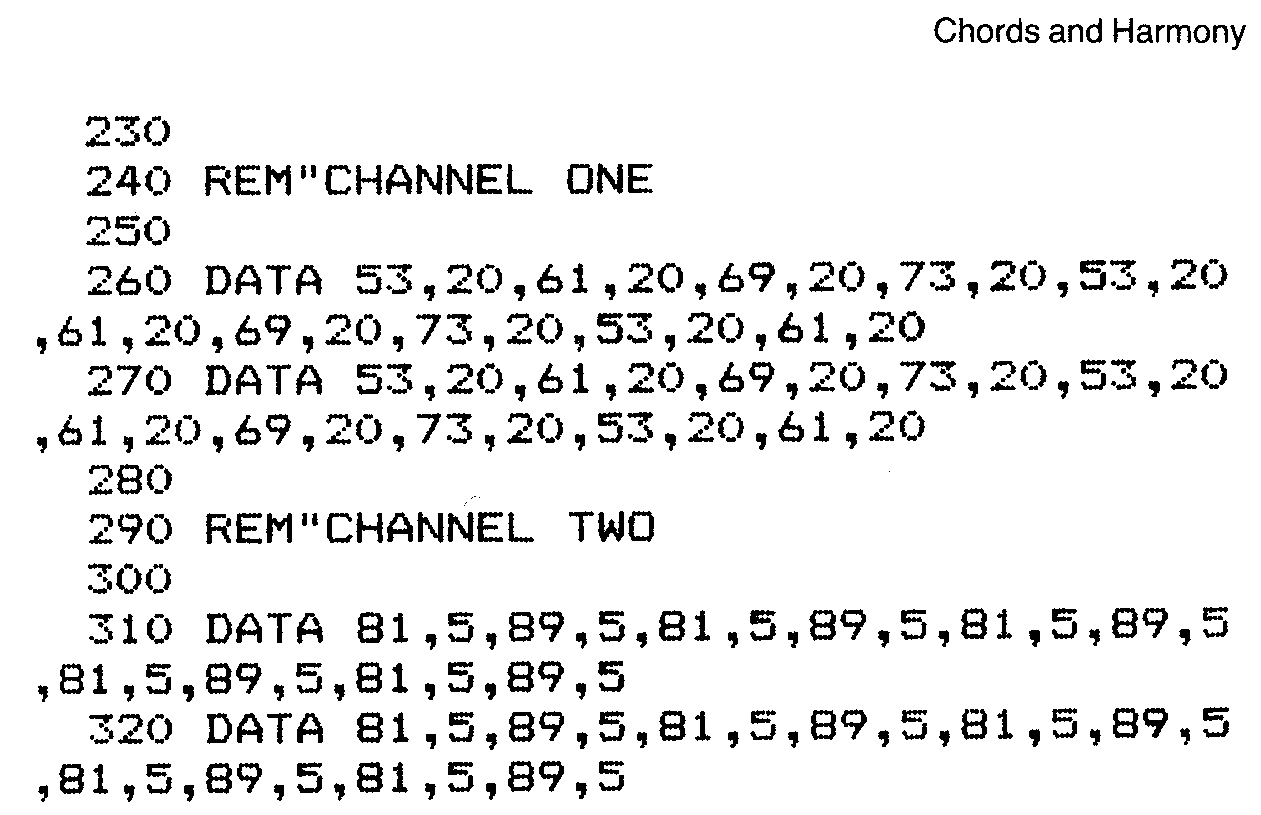
Blood and Sand is an original piece of music which has been written especially for this book by the author. The two parts consist of a melody line and a bass part.

When the program is RUN you will notice a slight pause which occurs as the arrays load up before the actual melody starts. In this piece we are being presented with an example which is similar to our Sync Demo. Thus, you will notice that the bass part consistently plays more notes than the melody part. It should be obvious to you by now that any attempt to relate the two parts when writing the DATA statements would be next to impossible. The program falls into three parts; as follows.
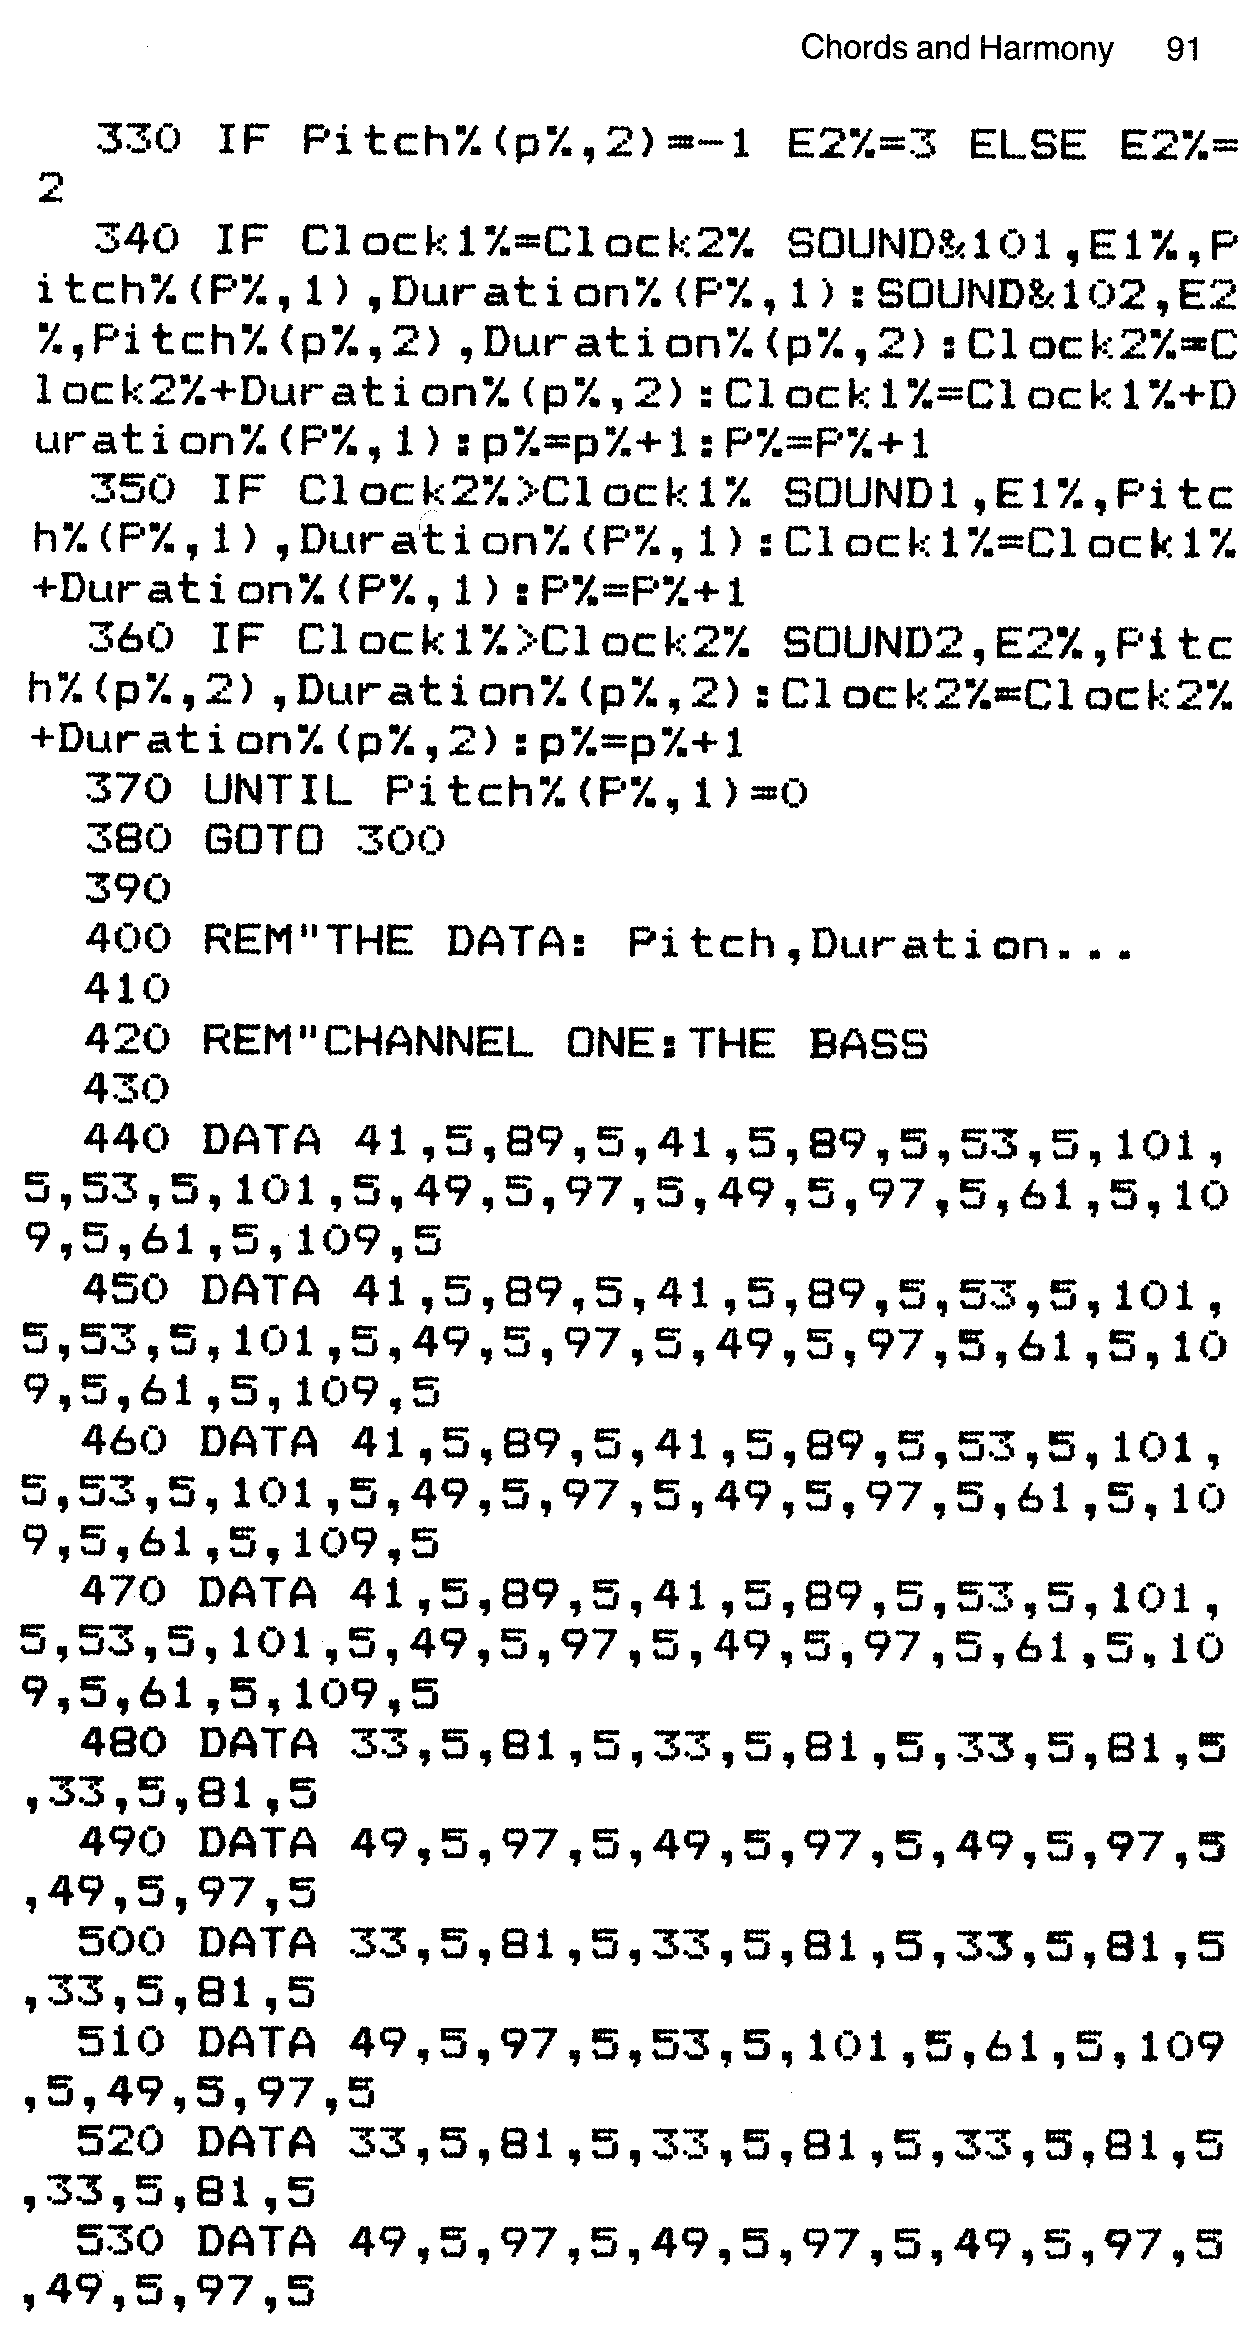
1. Initialisation: Blood and Sand is PRINTed on the screen using MODE 7 double height text. Both clocks are set to zero and three ENVELOPE are defined. The first and second are for channels one and two, while the third is a zero volume ENVELOPE called up for rests. When the pitch and duration information is READ into the arrays, Pitch%(P%-1,C%)=0 is tested to indicate the end of DATA for that channel when the condition is satisfied. This allows this program to be used for any set of two-part DATA providing zeroes are placed at the end of each set of channel information. C% is the channel number and Line 250 RESTOREs the program to the channel two set of DATA.
2. The Program: Line 300 sets the step counters to one. Lines 320 and 330 allow for rests in the music by INPUTting -1 as the pitch DATA. If Pitch= -1 then the silent ENVELOPE 3 is called. The main part of the program is in a slightly different form from that which we have already seen in the demo. Line 340 synchronises the channels if their SOUND statements fall on the same beat, i.e. when clock1 =clock2. This move makes sure that the two parts start exactly at the same time and are periodically pulled back into time. Even though the duration values of the sound generator are highly accurate, the relative slowness of BASIC can sometimes cause a time delay to occur between the two parts. This line ensures any delay which might be generated as a result of this flaw has no effect. Because of the addition of this line it becomes necessary to split the clock comparison statement into two lines, 350 and 360. Overall, these three lines have the same effect as we have noted earlier on. The channel with the smallest clock reading always SOUNDs. Line 370 tests for zeros in the DATA statements and, if found, sends the program back to Line 300 where the step counters are reset, causing the tune to play from the beginning. This program will REPEAT indefinitely and stay in perfect synchronisation.
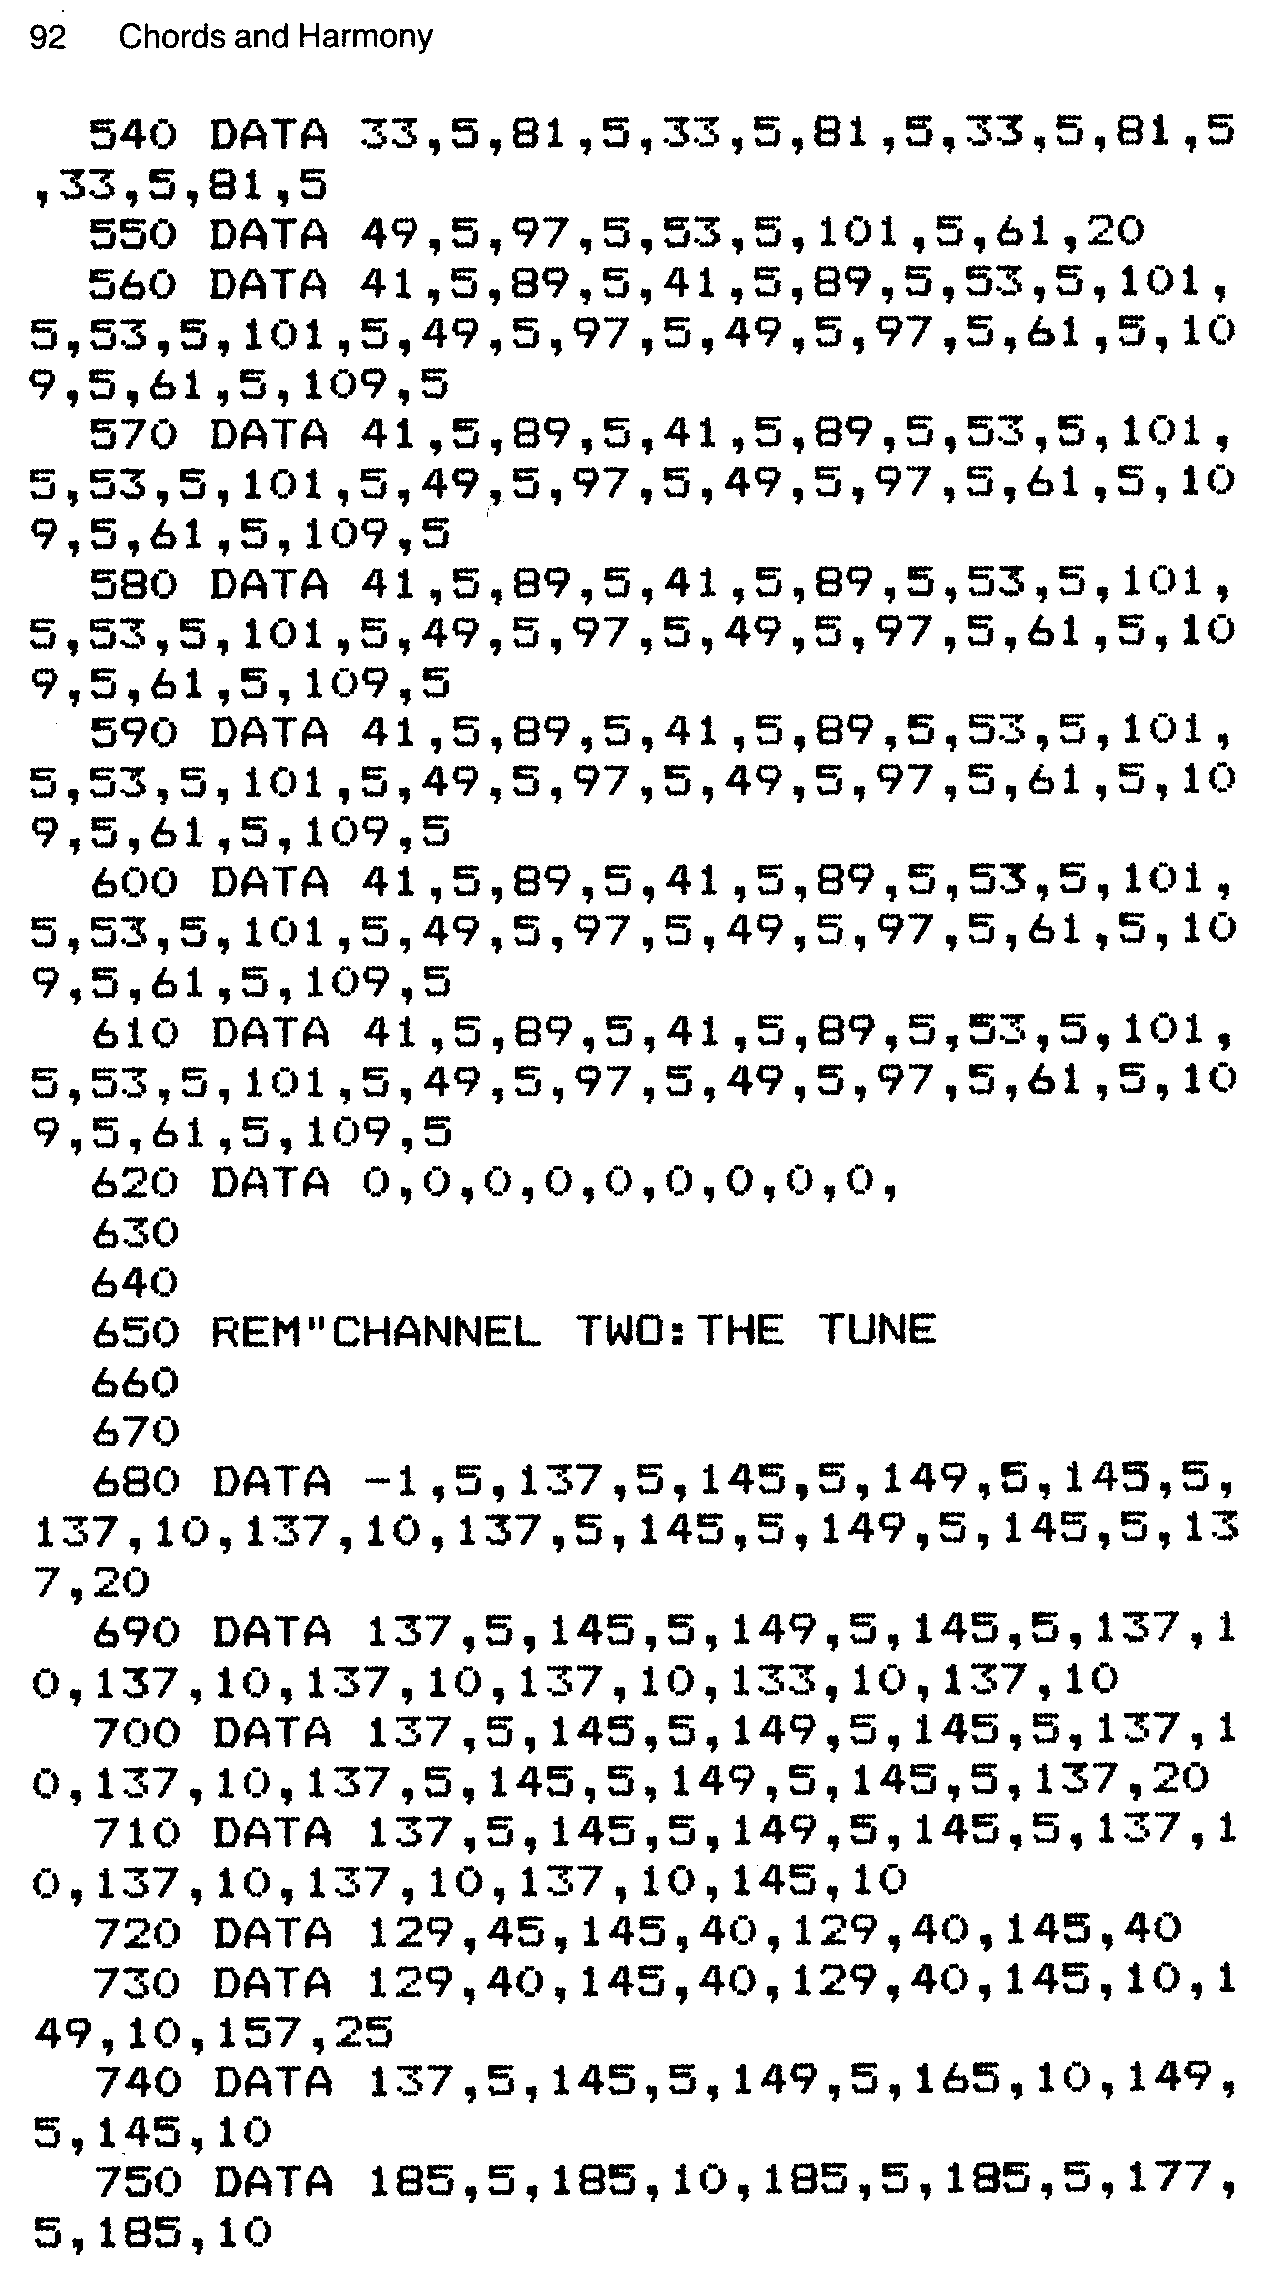
3. The Music DATA: The DATA is written as BBC pitch and duration values, pitch followed by duration followed by pitch and so on. There is no reason why any of the other available forms for recording musical information, such as music nomenclature or symbols, MC-4 synthesiser code or a form of your own devising, should not be used. Providing the translation of DATA into BBC BASIC is carried out before being stored in the pitch and duration arrays, no slowing down of the program will occur apart from the unavoidable pause as the arrays load, which we have already noted and considered. It is a good idea to be systematic about the amount of information you put in each DATA statement. In this example, two bars per statement seemed reasonable. A systematic approach also has the additional benefit of making it fairly easy to trace back and eradicate the inevitable typing errors when you become horrified to hear that the playback sounds like some form of avant garde jazz!
Now that we have successfully tackled two-part tune synchronisation we can try a similar technique on three- and four-part works.
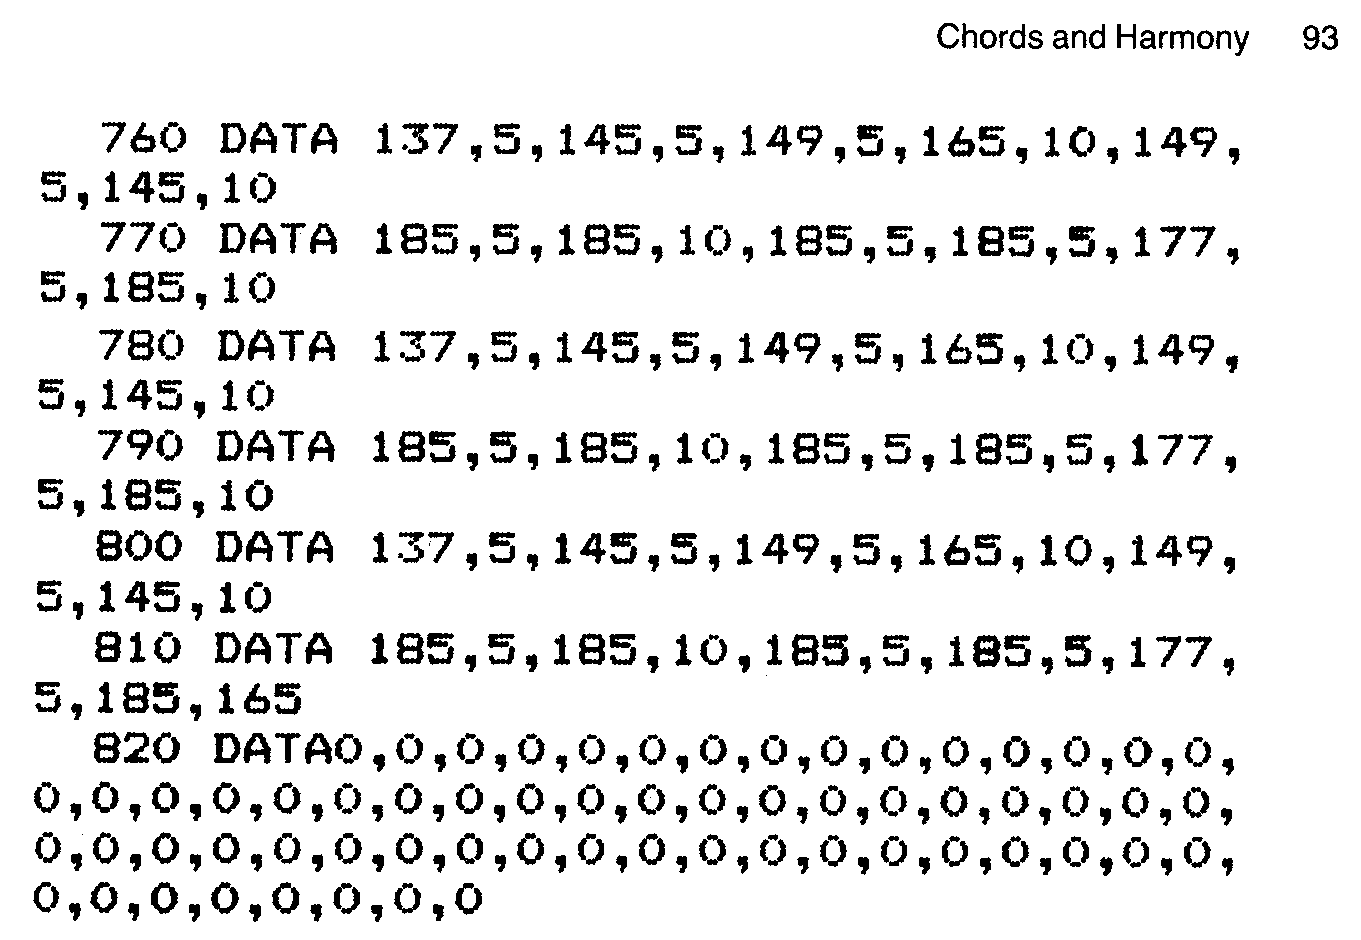
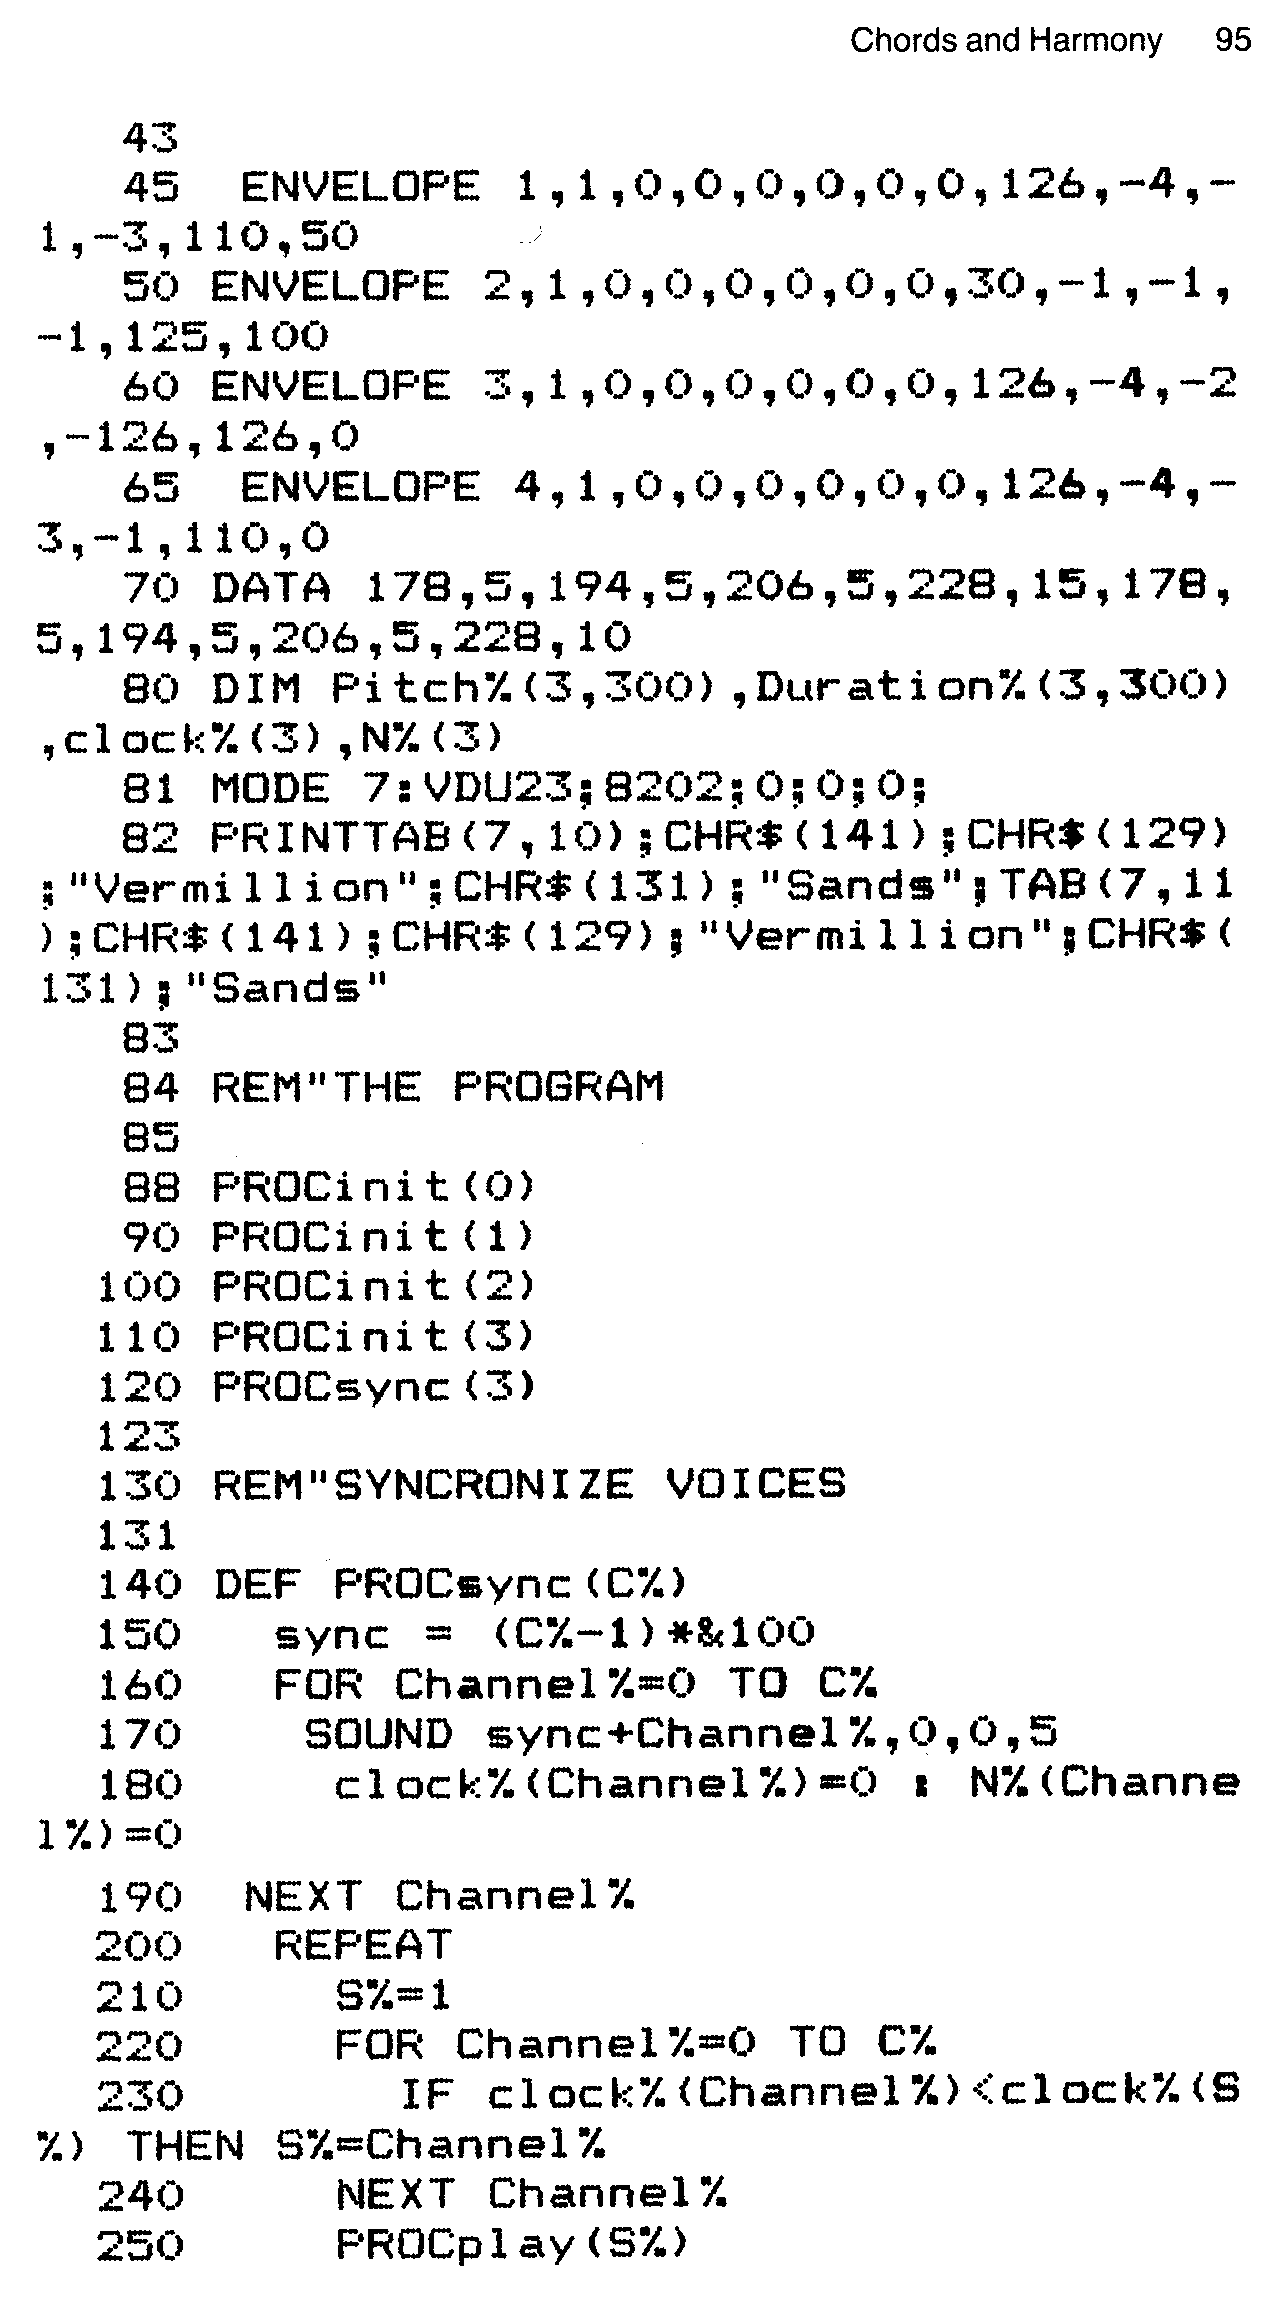
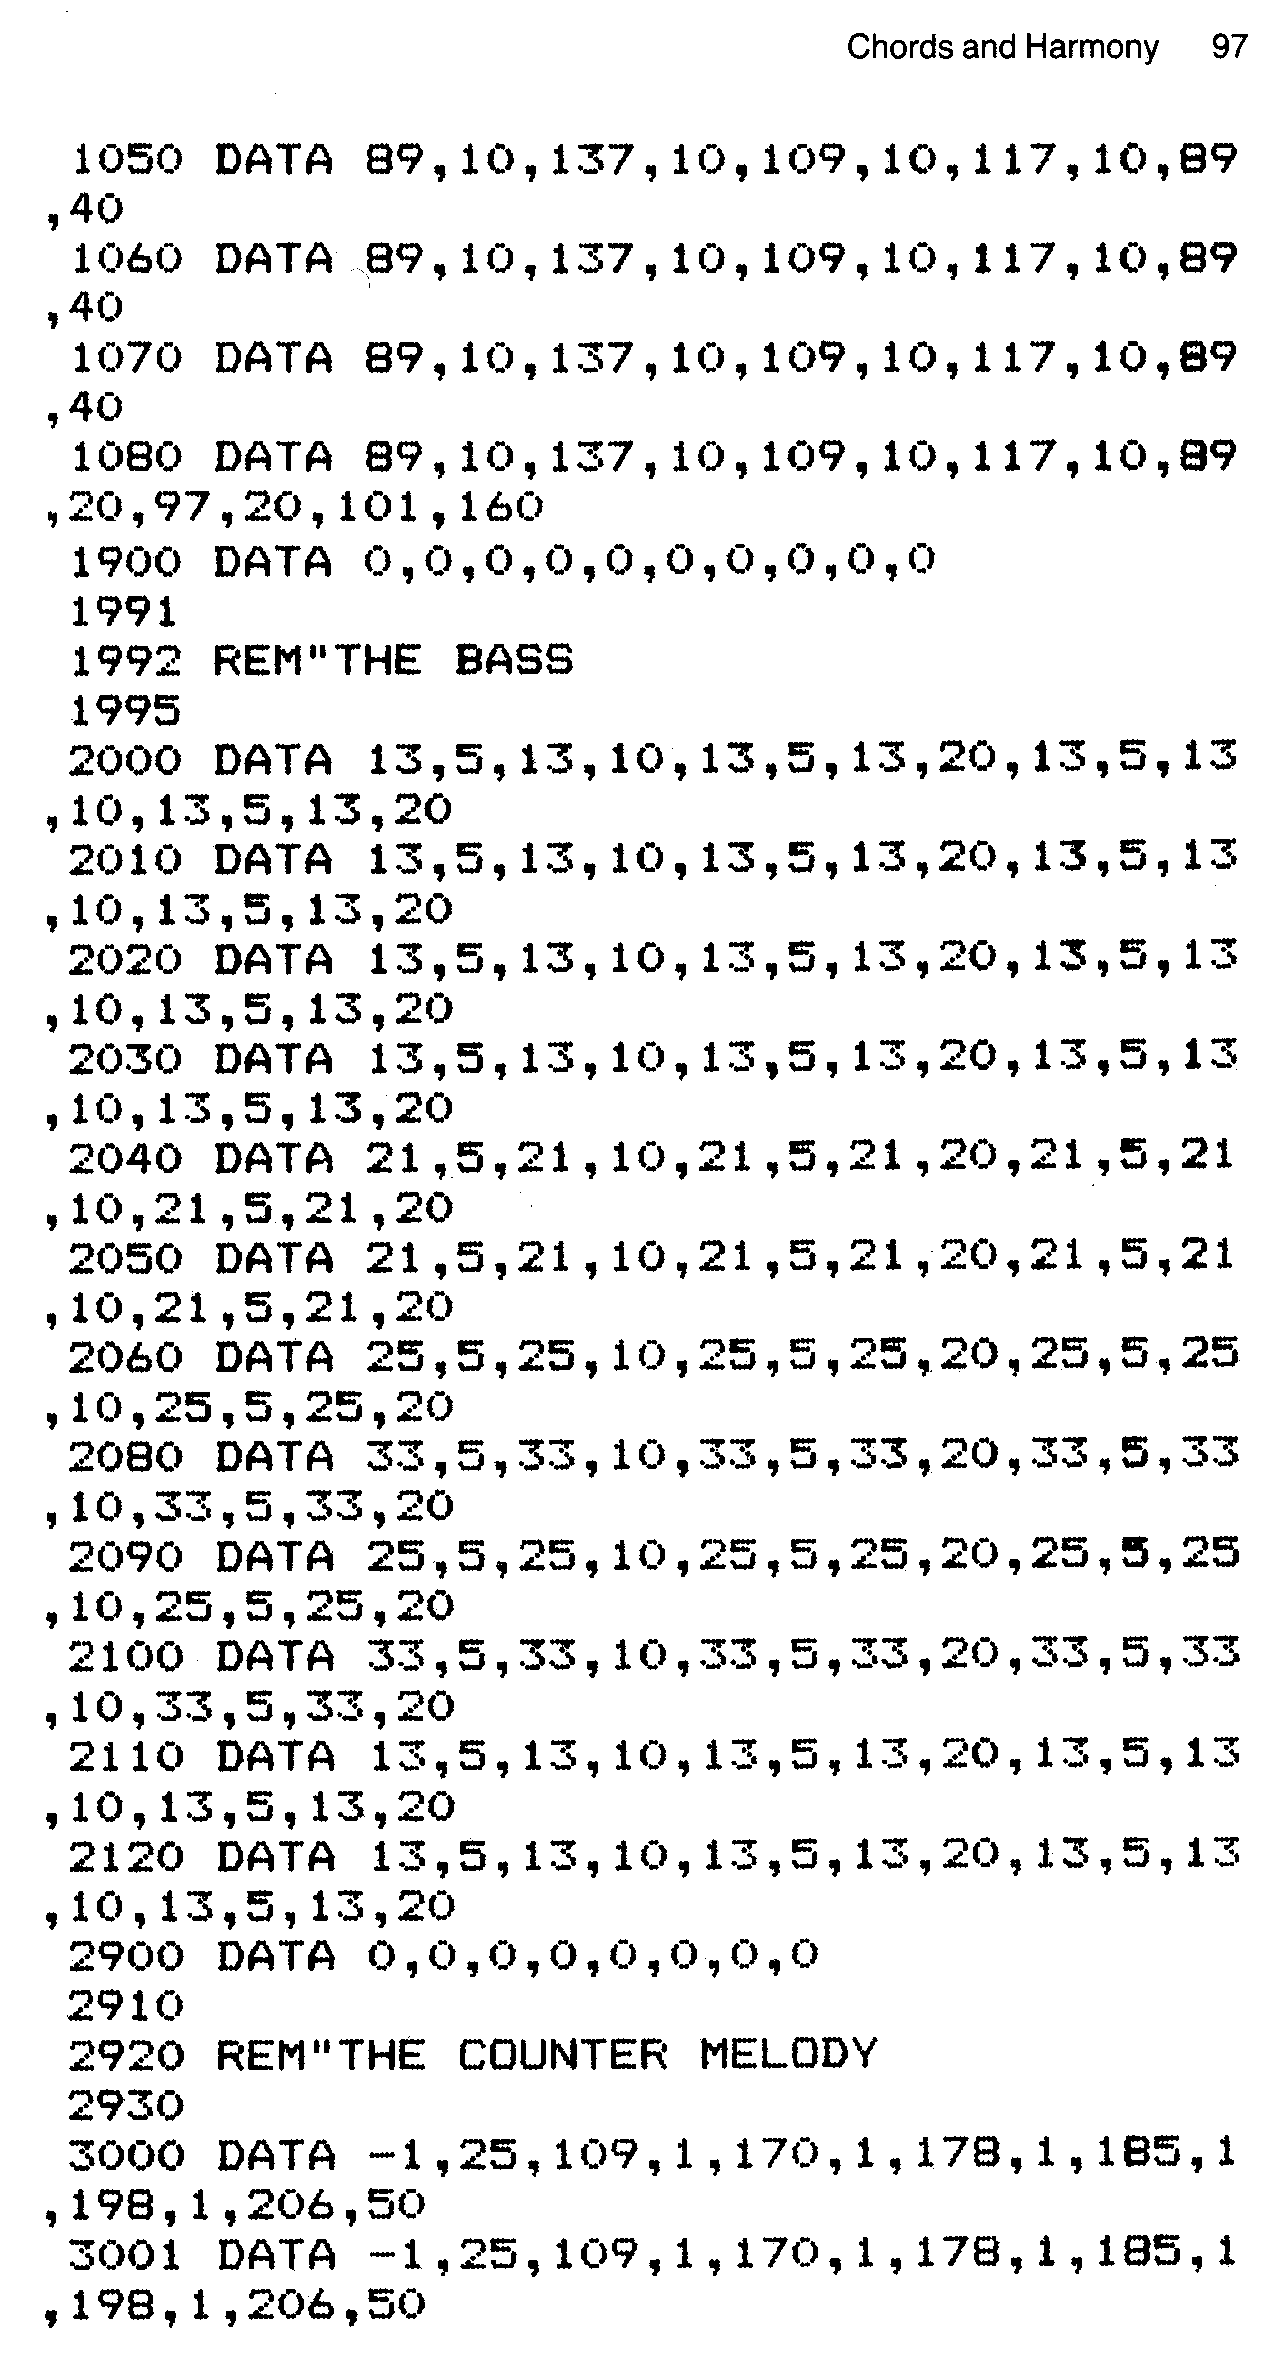
I have written another original piece as a demonstration of multiple part synchronisation. Vermillion Sands has been composed as an electronic piece of music suitable for four voices. It comprises lead part on channel one, bass on two, counter melody on three and snare drum on channel zero, the noise channel.
10
20
30 REM"  ***FOUR VOICE SYNC***
31
32 REM "*****VERMILLION SANDS*****
41
42 REM" SET UP
 4020 DATA 5,20,5,20,5,20,5,20,5,20,5,20,
 5,20,5,20,4,20,4,20,4,20,4,20,4,20,4,20,
 4,15,5,5,4,5,5,5
 5000 DATA 0,0,0,0,0,0,0,0
The program will RUN, after a short pause, with a regular bass pattern and off-beat snare. The melody is divided into verse, bridge and chorus, with the counter melody changing pattern during each section. The entire piece REPEATS UNTIL the <ESCAPE> key is pressed. It works as follows.
1. Initialisation: This is done as we mentioned earlier on in the chapter but with a four-DIMensional array and four ENVELOPE statements. The array loading section of the program has to be tackled in a specific PROCedure which we look at in the following paragraph.
2. Load Arrays: First PROCinit is called from the main program and is fed a value from zero to four for channel%. Line 360 RESTOREs the program to the correct set of DATA. The pitch and duration information is then READ into the array and a zero value for pitch is tested for, as before, to indicate the end of DATA.
3. The Program: In this example the program consists of PROCinit called four times, once for each of the four sets of DATA, and PROCsync, which in turn calls PROCplay.
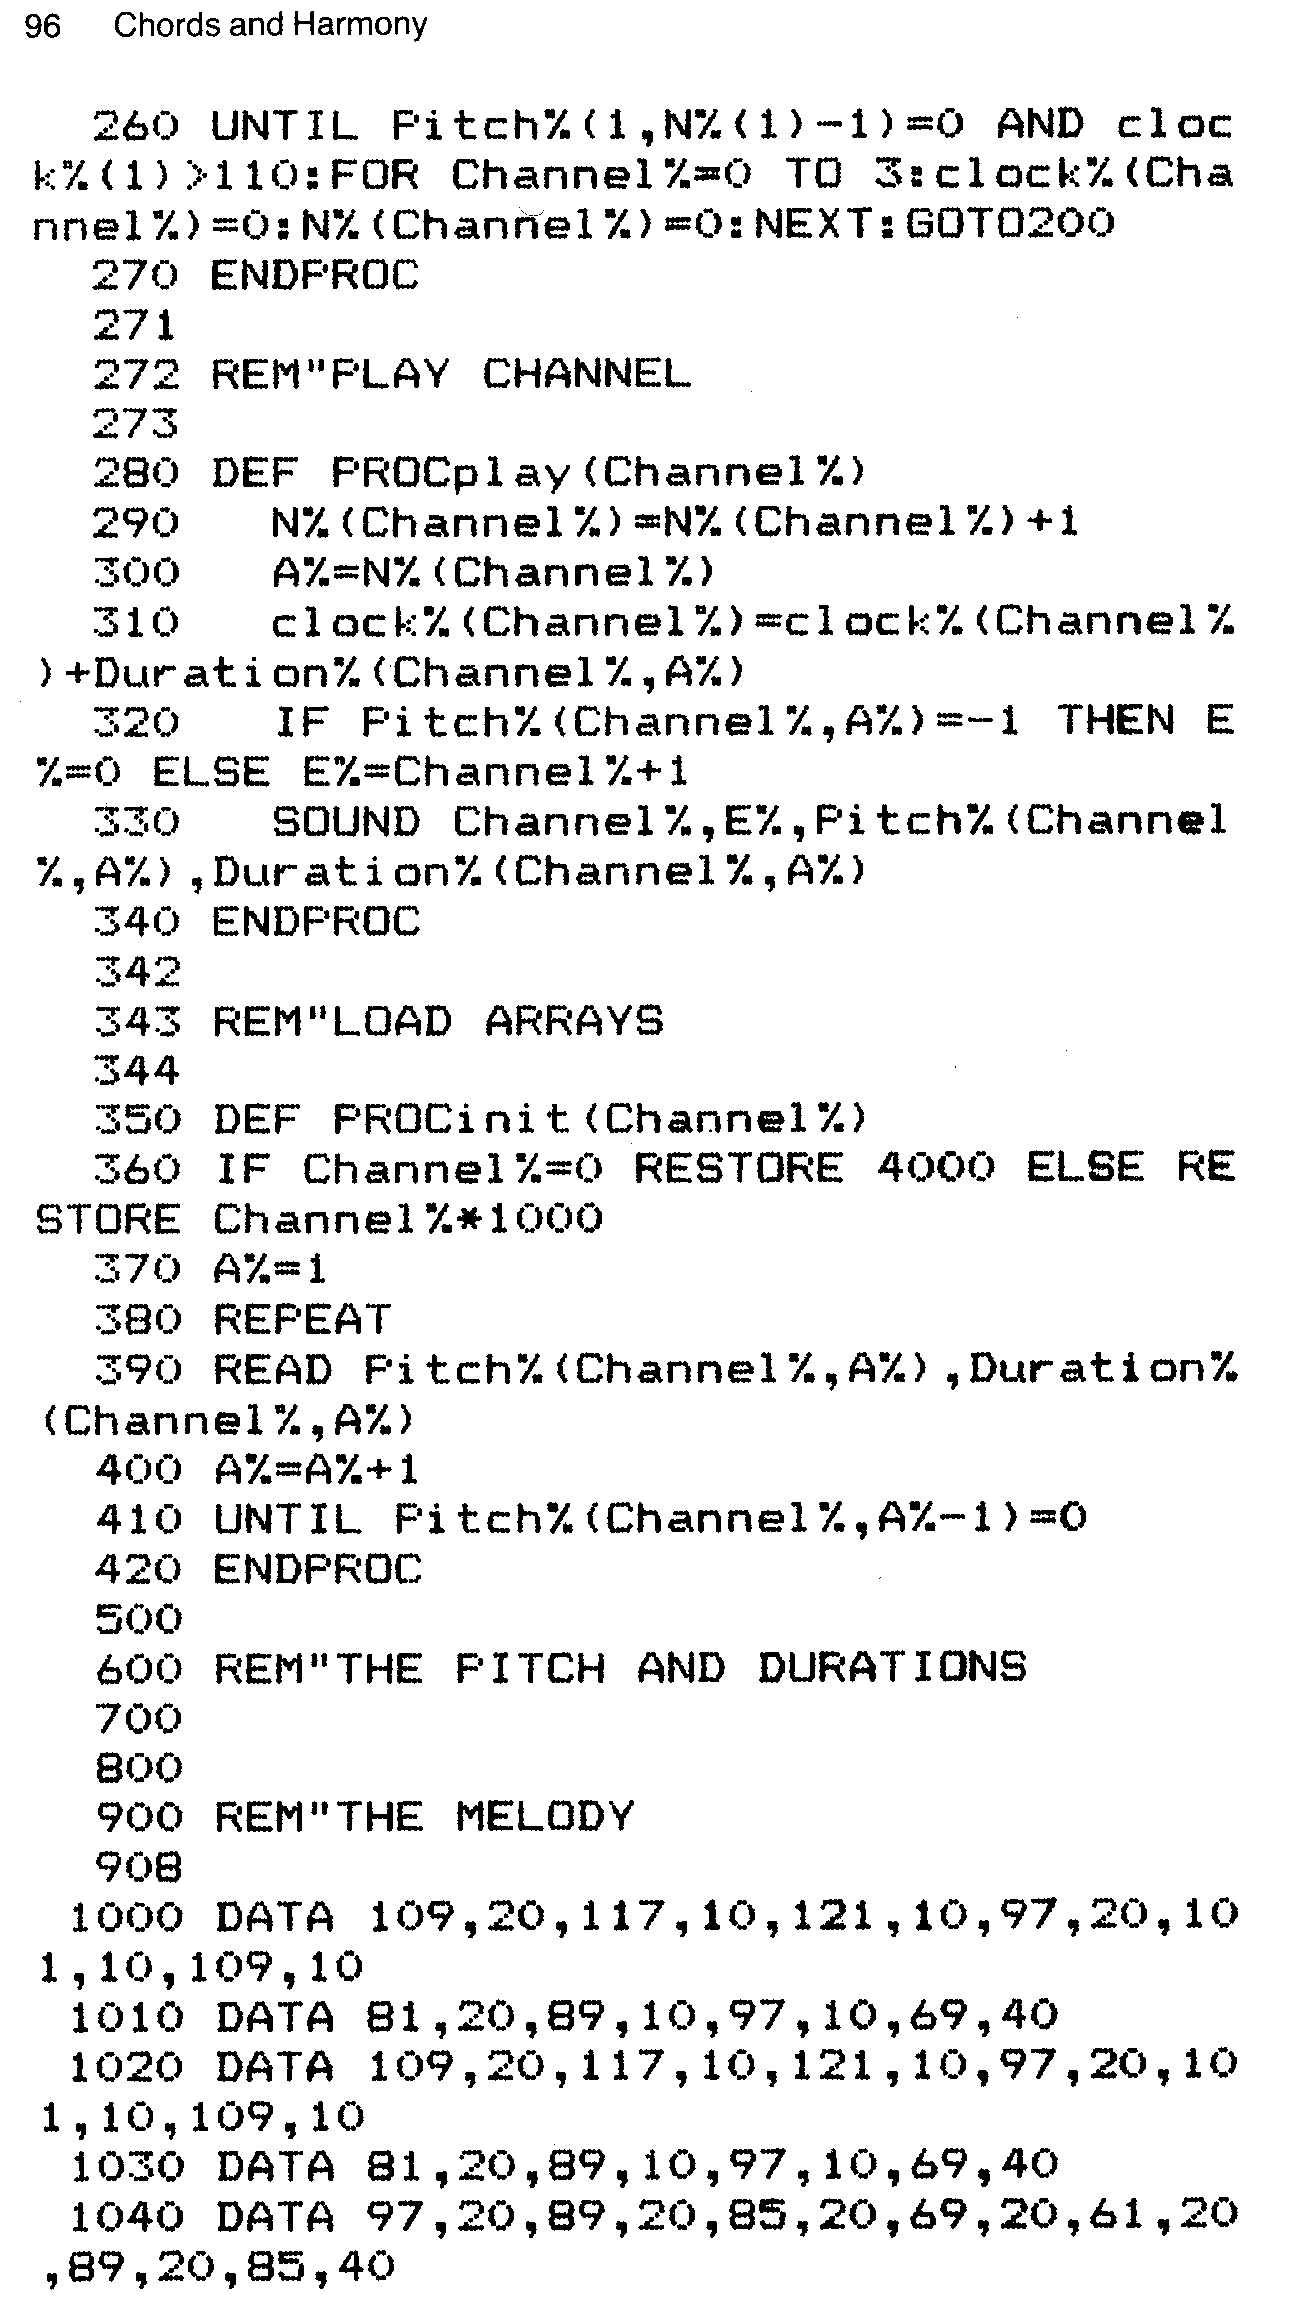
4. Synchronise Voices: PROCsync can logically be divided into two distinct parts. The first part uses the extended SOUND statements s parameter to synchronise the start of the piece. If this part of the program is omitted you will hear timing discrepancies between the four parts. Line 180 zeroes the channel clocks and step numbers, both of which are held in arrays. This allows a general play procedure to be created. The second part of PROCsync controls which channel will play at any given time. You will notice that this step replaces the previously noted technique, the three lines we included for this purpose in Blood and Sand. The channel clocks are then compared and the channel with the slowest clock is passed to PROCplay. Line 260 allows the loop to REPEAT... UNTIL a value of zero is detected for the expression Pitch%(1,N%(1) - 1). The piece is restarted when this is TRUE.
5. Play Channel: Line 290 increments the step number N% of the current channel by one and for the rest of the PROCedure this is stored in the variable A%. Line 310 updates the channel clock. Line 320 selects the ENVELOPE to be used (ENVELOPE I for channel zero, ENVELOPE 2 for channel 1, etc.) or zero amplitude if a rest is detected (pitch= -1). Line 330 SOUNDs the channel.
6. The Pitch and Durations: These are BBC values which are arranged in two bar segments just as before. Each set of DATA starts at a particular line number (1000 2000 3000 4000) in order to make the RESTORE statement in Line 360 as general as possible. Note that using the RENUMBER command will require Line 360 to be rewritten.
This program can be used for any set of four part DATA, though the note arrays may have to be increased in size for particularly long pieces. (They can accept up to three hundred notes as the program stands). Three or two part tunes can be INPUT by filling the channel three and four DATA statements with rests or zeros. It should be noted that because the program only synchronises the voices using the s parameter at the very start of the program, and not during REPEATs, the parts will eventually slip out of time. This is a result of the time BASIC takes to process the various synchronisation and play commands. This phenomenon should only become noticeable after four or five REPEATS.
There is yet another available alternative to the single DATA stream method of multi-channel sync. This would involve dividing durations up into small increments which, at any given point in a tune, could either be considered notes or rests. The channel synchronisation parameter could then be used to keep each increment on each channel in step:
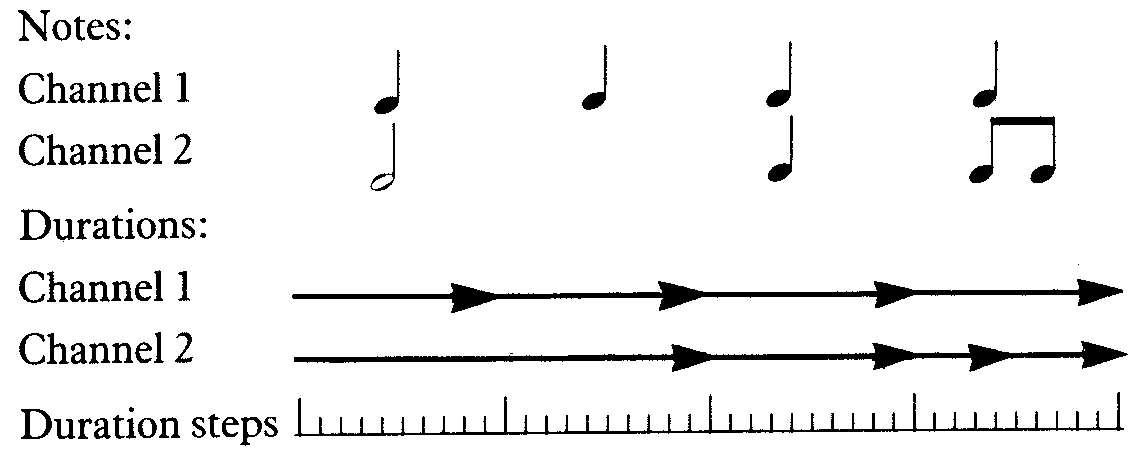
Using this method we could ensure absolute synchronisation of each channel at all times. This technique is particularly useful when dealing with real time playing. If a melody is played in from the keyboard the timing is automatically corrected to the nearest increment and stored in an array. This is equivalent to the MC-4 type of programming. One example of this type of multi-channel synching can be seen in the drum machine program presented in Chapter Nine: Applications. One or more of the drum channels could be programmed to accept note information, as well as timing information, direct from the keyboard. I will leave it up to you to experiment with the possibilities made available by this technique.